


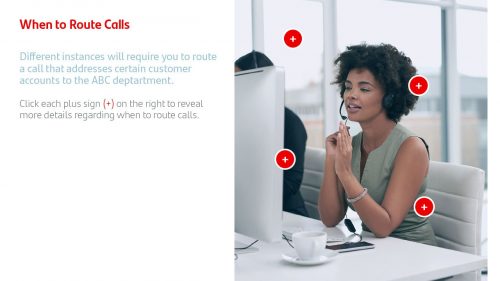
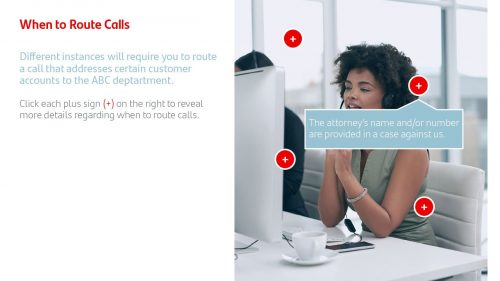
First you will need to have created the objects that will act as your (1) hotspot and (2) popup or panels that reveal additional details once the hotspot is clicked. The object can be a shape or an image, for example.
You will create an Advanced Action for (1) the hotspot and hide the output of (2) the popup in Properties panel.
For the Advanced Action you are simply writing an action so that Captivate will show the related popup panel when its hotspot is clicked and hide all others.
Hotspot Clicked:
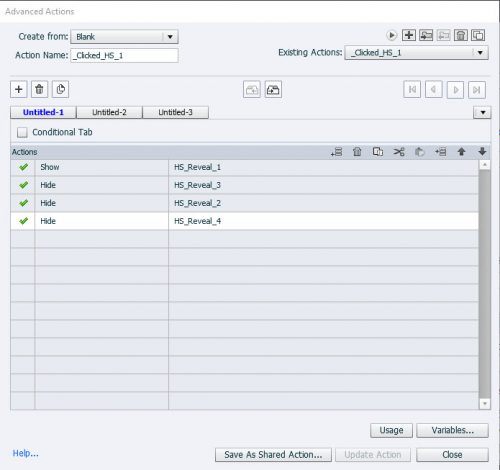
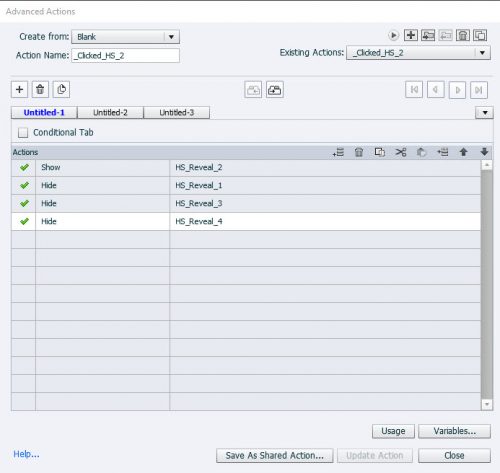
In the first image below, the Advanced Action is written so the first clicked hotspot shows the first popup and hides the second, third, and fourth. In the second image, the hotspot will show the second popup and hide the first, third, and fourth. This way, no matter what order a hotspot is clicked, the corresponding popup will show and all others hide to avoid blocking the view of other that appear before or after.
Key Takeaways:
1. Create hotspots and popups so that the popups all are hidden (initially using the hide from output option)
2. Write advanced actions to apply to each hotspot object so that the corresponding popup will SHOW and any/all other popups HIDE. If you prefer all popups show and stay opened, then only SHOW your panel, no need to HIDE any other object(s)
The post Advanced Action for Hotspot Activity appeared first on eLearning.
Overview of how to use Advanced Actions for a hotspot activity.
The post Advanced Action for Hotspot Activity appeared first on eLearning.Read MoreBlog, eLearning Projects, Tips and Tricks, Advanced Actions, blog, elearning projects, hotspots